The fun of upgrading hard disk in laptop
I spent last Sunday upgrading the hard disk in my wife's laptop. I went from M.2 SSD 256 Gb to M.2 NVMe 1 Tb drive. I learned about cloning software and figured out that this will be perfect (and easy) since I didn't want to reinstall the OS and all the apps. Little did I know!
The setup was like this: old drive was inside the laptop, new drive was used via a USB-docking station. The plan was to clone the old drive, put new drive inside the laptop, to enjoy!
The cloning part was very easy! The new drive came from Hynix and they provide a data migration app. The app is not developed by them, but rather it is an OEM version of another cloning software Macrium Reflect produced by company Paramount Software. Anyway, the interface was very straightforward. After 30 minutes or so the new drive looked identical to the older one. It contained 4 partitions: boot, reserved, data, rescue. I went on to swap drives inside the laptop.
Then I booted... into a blue screen! Windows didn't want to boot via the new drive. This opened up the adventure of trying to figure out what was going on. I ended up doing multiple hard drive swaps, multiple cloning attempts. Tried easy fixes via command line, watched videos by Macrium Reflect folks about possible fixtures...
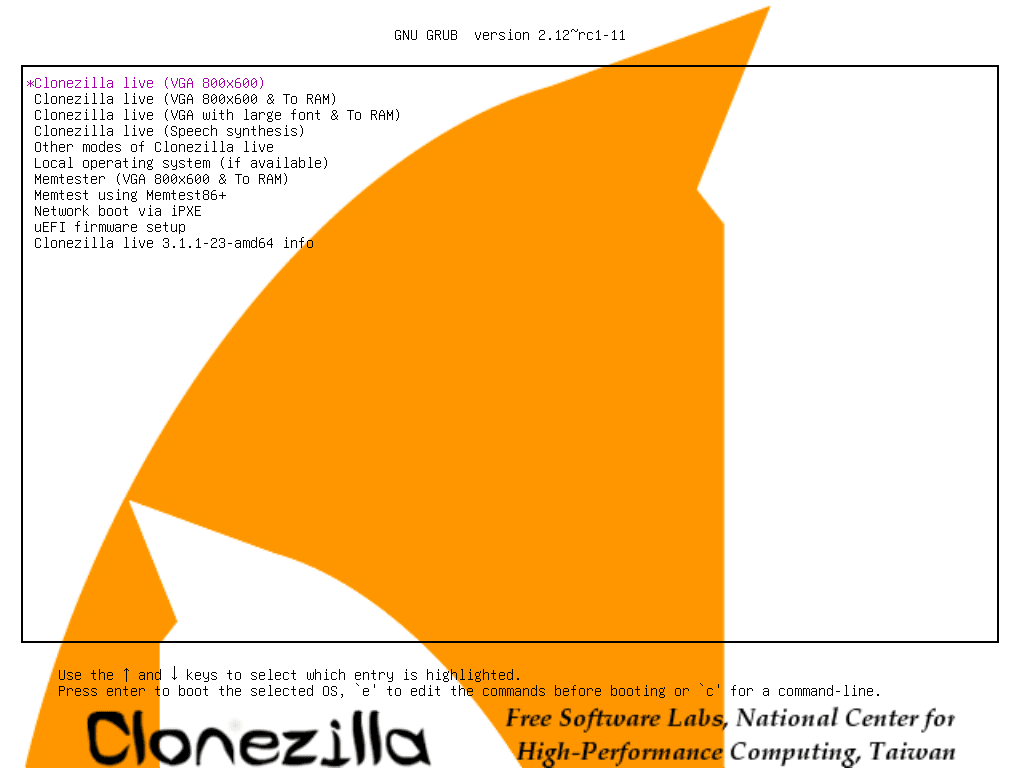
What worked in the end was Clonezilla app. Clonezilla is free and open source software for disk imaging and cloning. I was particularly enjoying how they described the creation of bootable live usb drive with Clonezilla. In my own words:
Prepare a media with 500 Mb of free space, unzip this archive and you are good to boot from it.
This was such a contrast with Windows which just couldn't boot despite having all the files right there. I wonder what is the actual difference in processing between Clonezilla and Macrium Reflect. Perhaps I will figure it out when I do my next disk upgrade.